
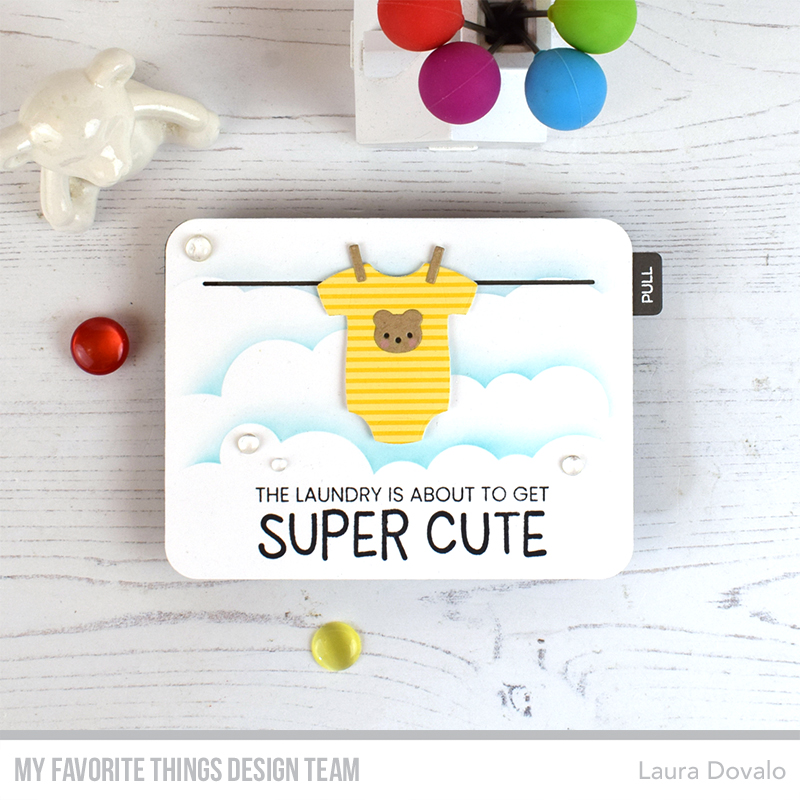
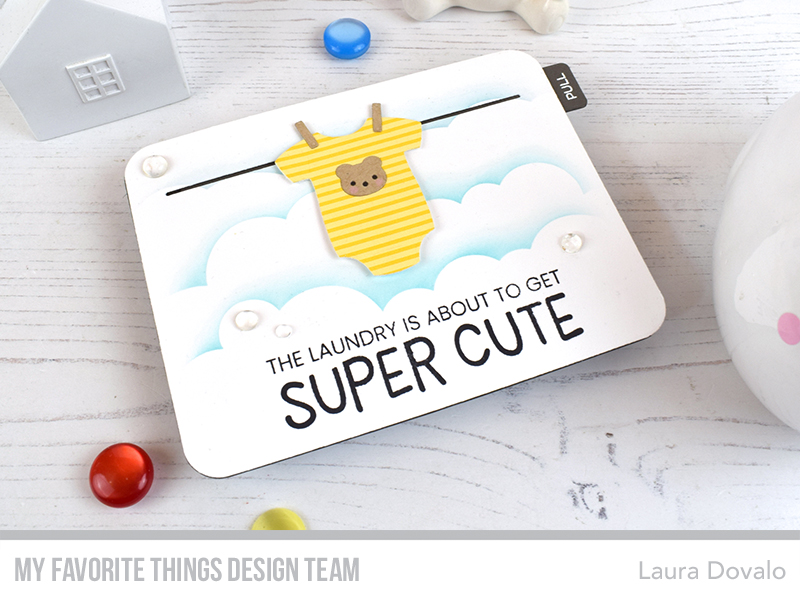
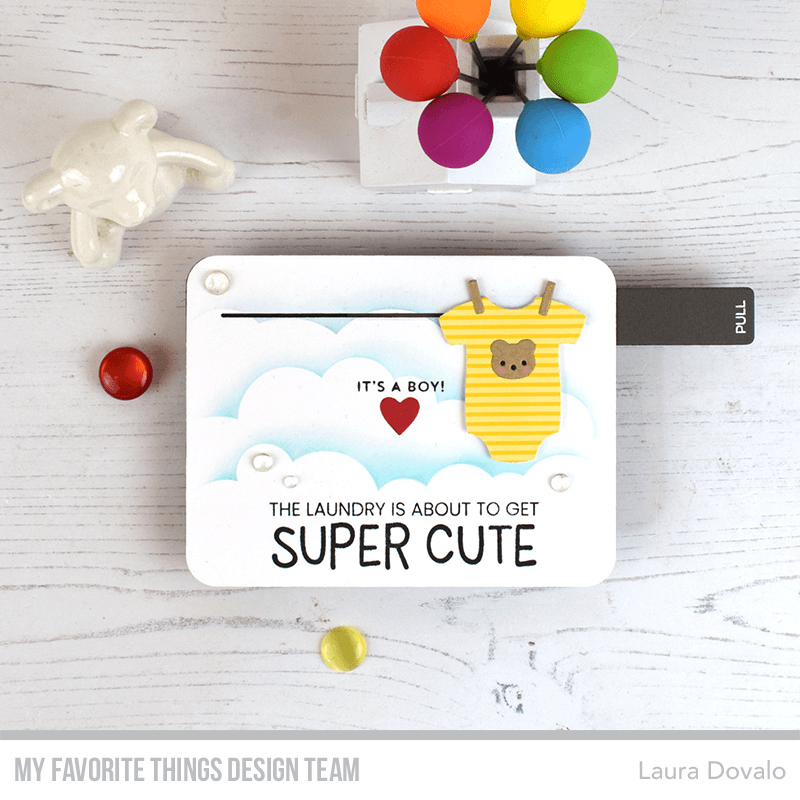
Hi there! Today I’m stopping by to show you a simple interactive baby card that I shared as a reel on the MFT Instagram account.
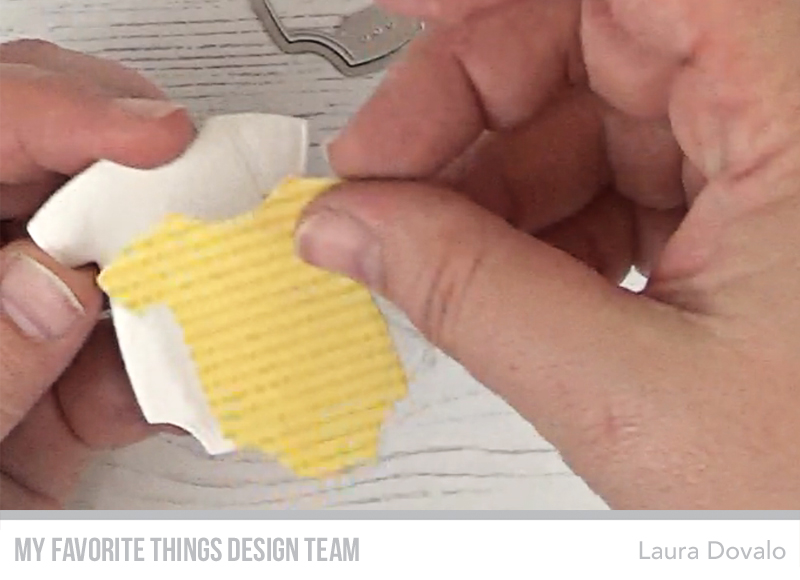
It’s only one minute long, so I thought it would be a good idea to explain some of the steps in more detail… For that I made some screen captures of the video so I’m afraid the pictures aren’t top quality, but bare with me if you want to learn how to create this card…

Step by step instructions for interactive baby card
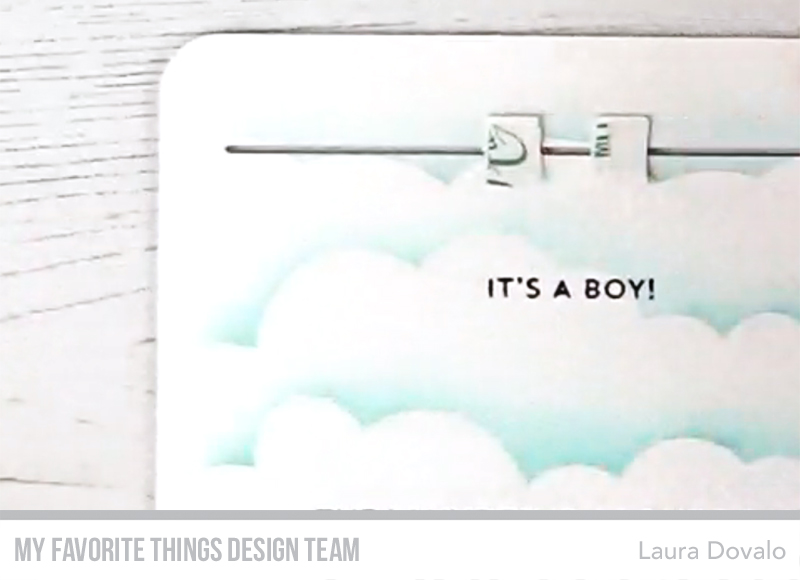
I started by doing some ink blending on a panel cut with the Money Card Die-namics with the Cloud Stencil and Summer Splash Premium Dye Ink.
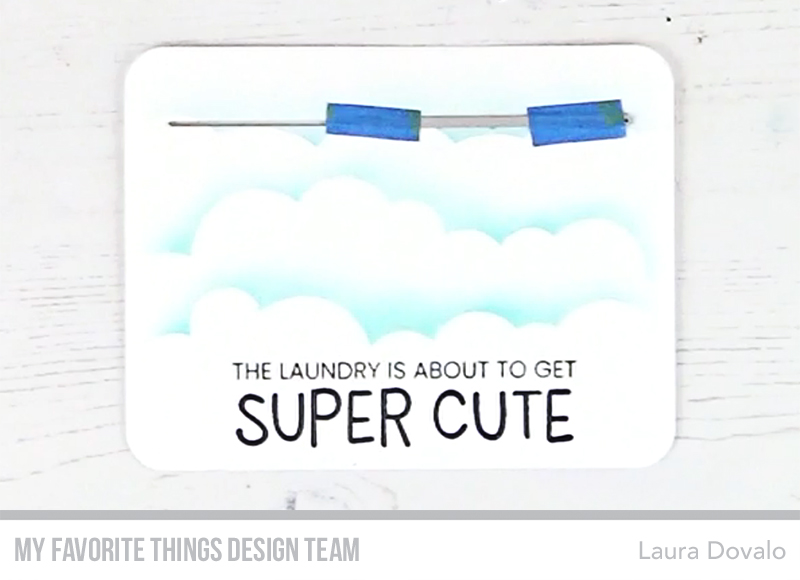


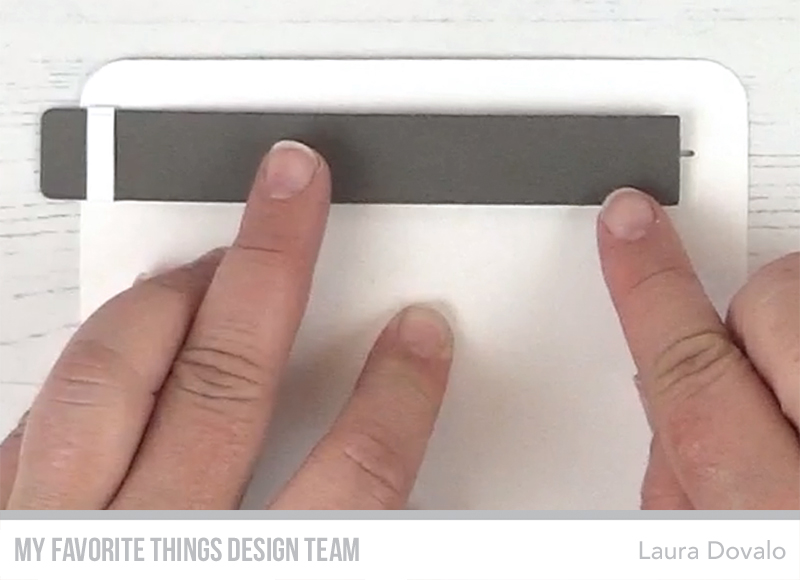
I also added double sided tape to the back pieces so that I could adhere them to the pull tab, cut out of two layers of Eiffel Tower Card Stock with the Pull Tab Slider Die-namics.
The rest is pretty self explanatory but if you have any questions, please leave a comment and I’ll get back to you. Thanks for stopping by! I’ll leave you with a list of other products that I used but didn’t mention in the blog post:
Products used for interactive baby card
This post is also available in: Español

